
Step-by-Step Instructions
1. Activate Jurisdictions
Once an entity has been created and linked to investors during project setup, the first step in demographic data management is activating applicable jurisdictions.
-
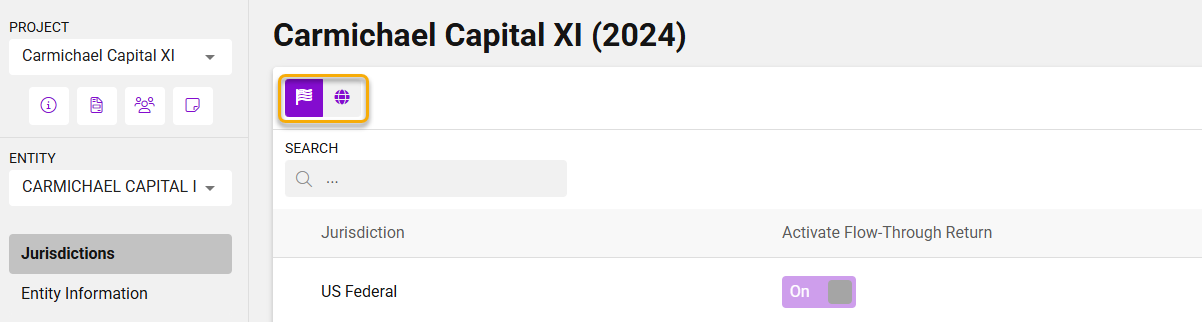
Domestic Jurisdictions:
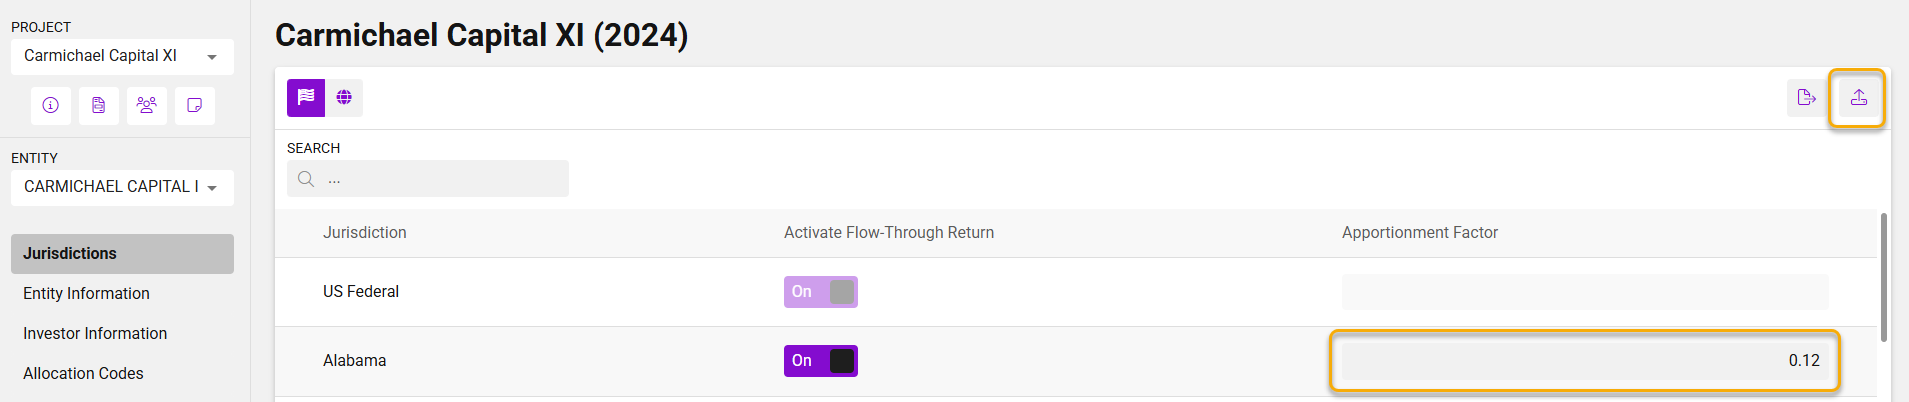
On the Jurisdictions page, select the states the entity will file in to include those state K-1s in the final investor packages. For each activated domestic jurisdiction, users can enter (or import) an apportionment factor, which determines how federal amounts are sourced to that jurisdiction. -
International Jurisdictions:
On the International tab, select any jurisdictions where the partnership had international activity, which will drive Schedule K-3 preparation.
Jurisdictions page domestic and international tabs
Apportionment factor input and import interfaces for domestic jurisdictions
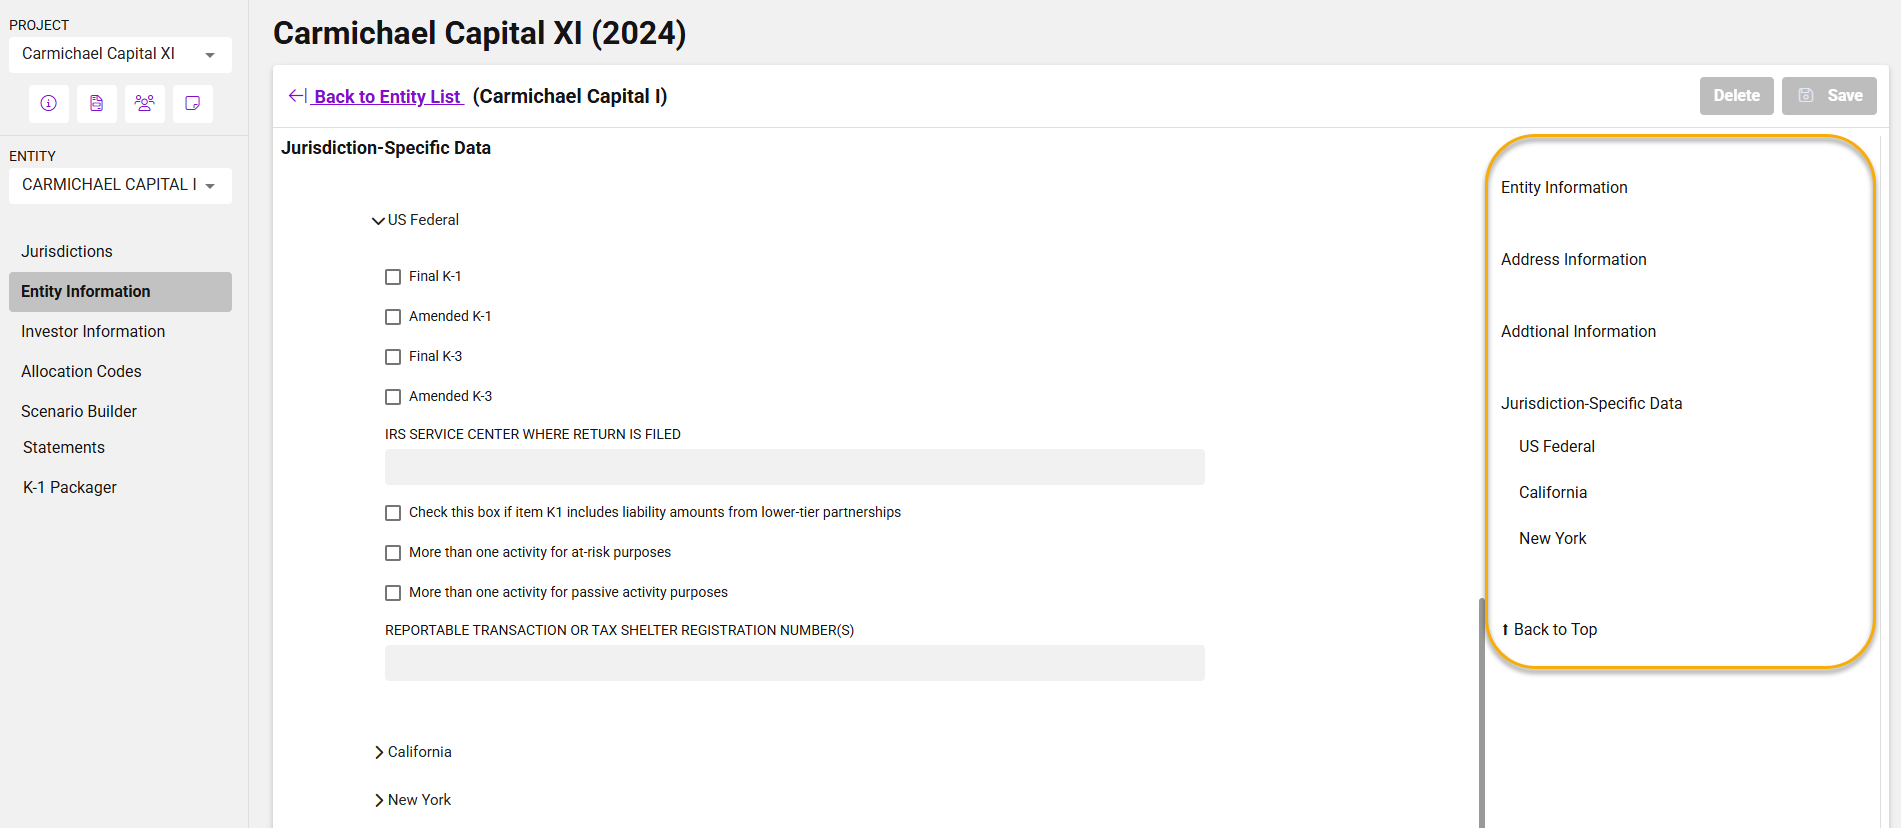
2. Enter Entity Demographic Data
Next, navigate to the Entity Information page. This is where users input identifying and jurisdiction-specific data for the entity. Examples of the kinds of data found here include:
-
State tax ID numbers
-
Whether the K-1s are marked as final or amended
-
Other details that may be required by certain jurisdictions
Note: The fields available for entry will vary depending on which jurisdictions are activated for the entity. In the April release, data entry is supported for Federal, CA, and NY only.
Tip:
Use the right-hand navigation panel to quickly scroll between sections of the Entity Information page. This can be especially helpful when managing data for a large number of jurisdictions.
Entity Information page showing sample fields, right-hand navigation
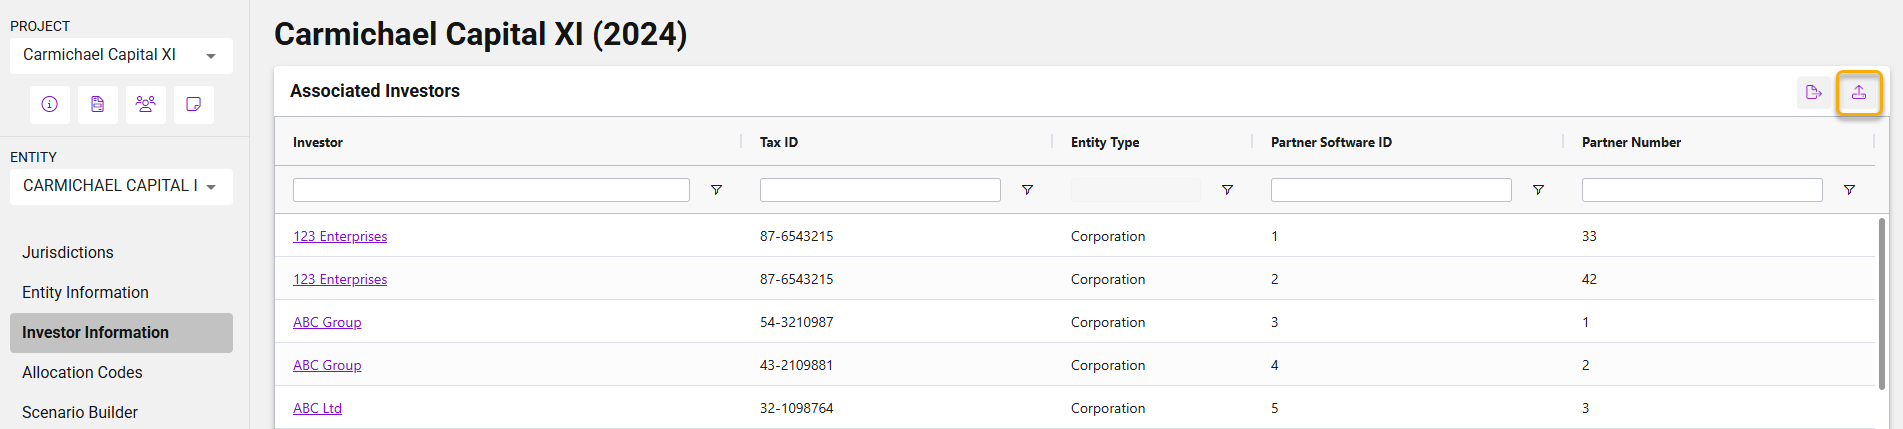
3. Enter Investor Demographic Data
Finally, go to the Investor Information page to manage details about each investorâs relationship to the entity.
-
Users can open an individual investor record to enter entity-specific information (e.g., designation as a general or limited partner).
Tip:
-
Project-level data (e.g., an investorâs tax ID) applies to the investor across the entire project and is managed on the Project Investors page .
-
Entity-level data (e.g., partner type) reflects the investorâs relationship with a specific entity and is managed within an entity on the Investor Information page.
Tip:
Just like with entity demographic entry, the right-hand navigation panel on this page allows users to scroll between input sections quickly
Associated investor list with import option for bulk demographic data management
Sample investor record showing editable entity-specific fields, right-hand navigation

Whatâs New in the April Release
-
Demographic data management is now consolidated with other setup steps, creating a more intuitive workflow.
-
Certain data fields have been moved to the appropriate levelâfor example, a partnerâs state tax ID number is now managed at the project level, rather than within individual scenarios.
-
Data entry is currently supported for Federal, CA, and NY, with support for additional jurisdictions coming in future releases.
-
Jurisdiction setup (including apportionment factor entry) is already available for all supported taxing jurisdictions, even if detailed demographic data isnât yet available.